Beautiful Gallery Suite Collection Layout
love every bloom
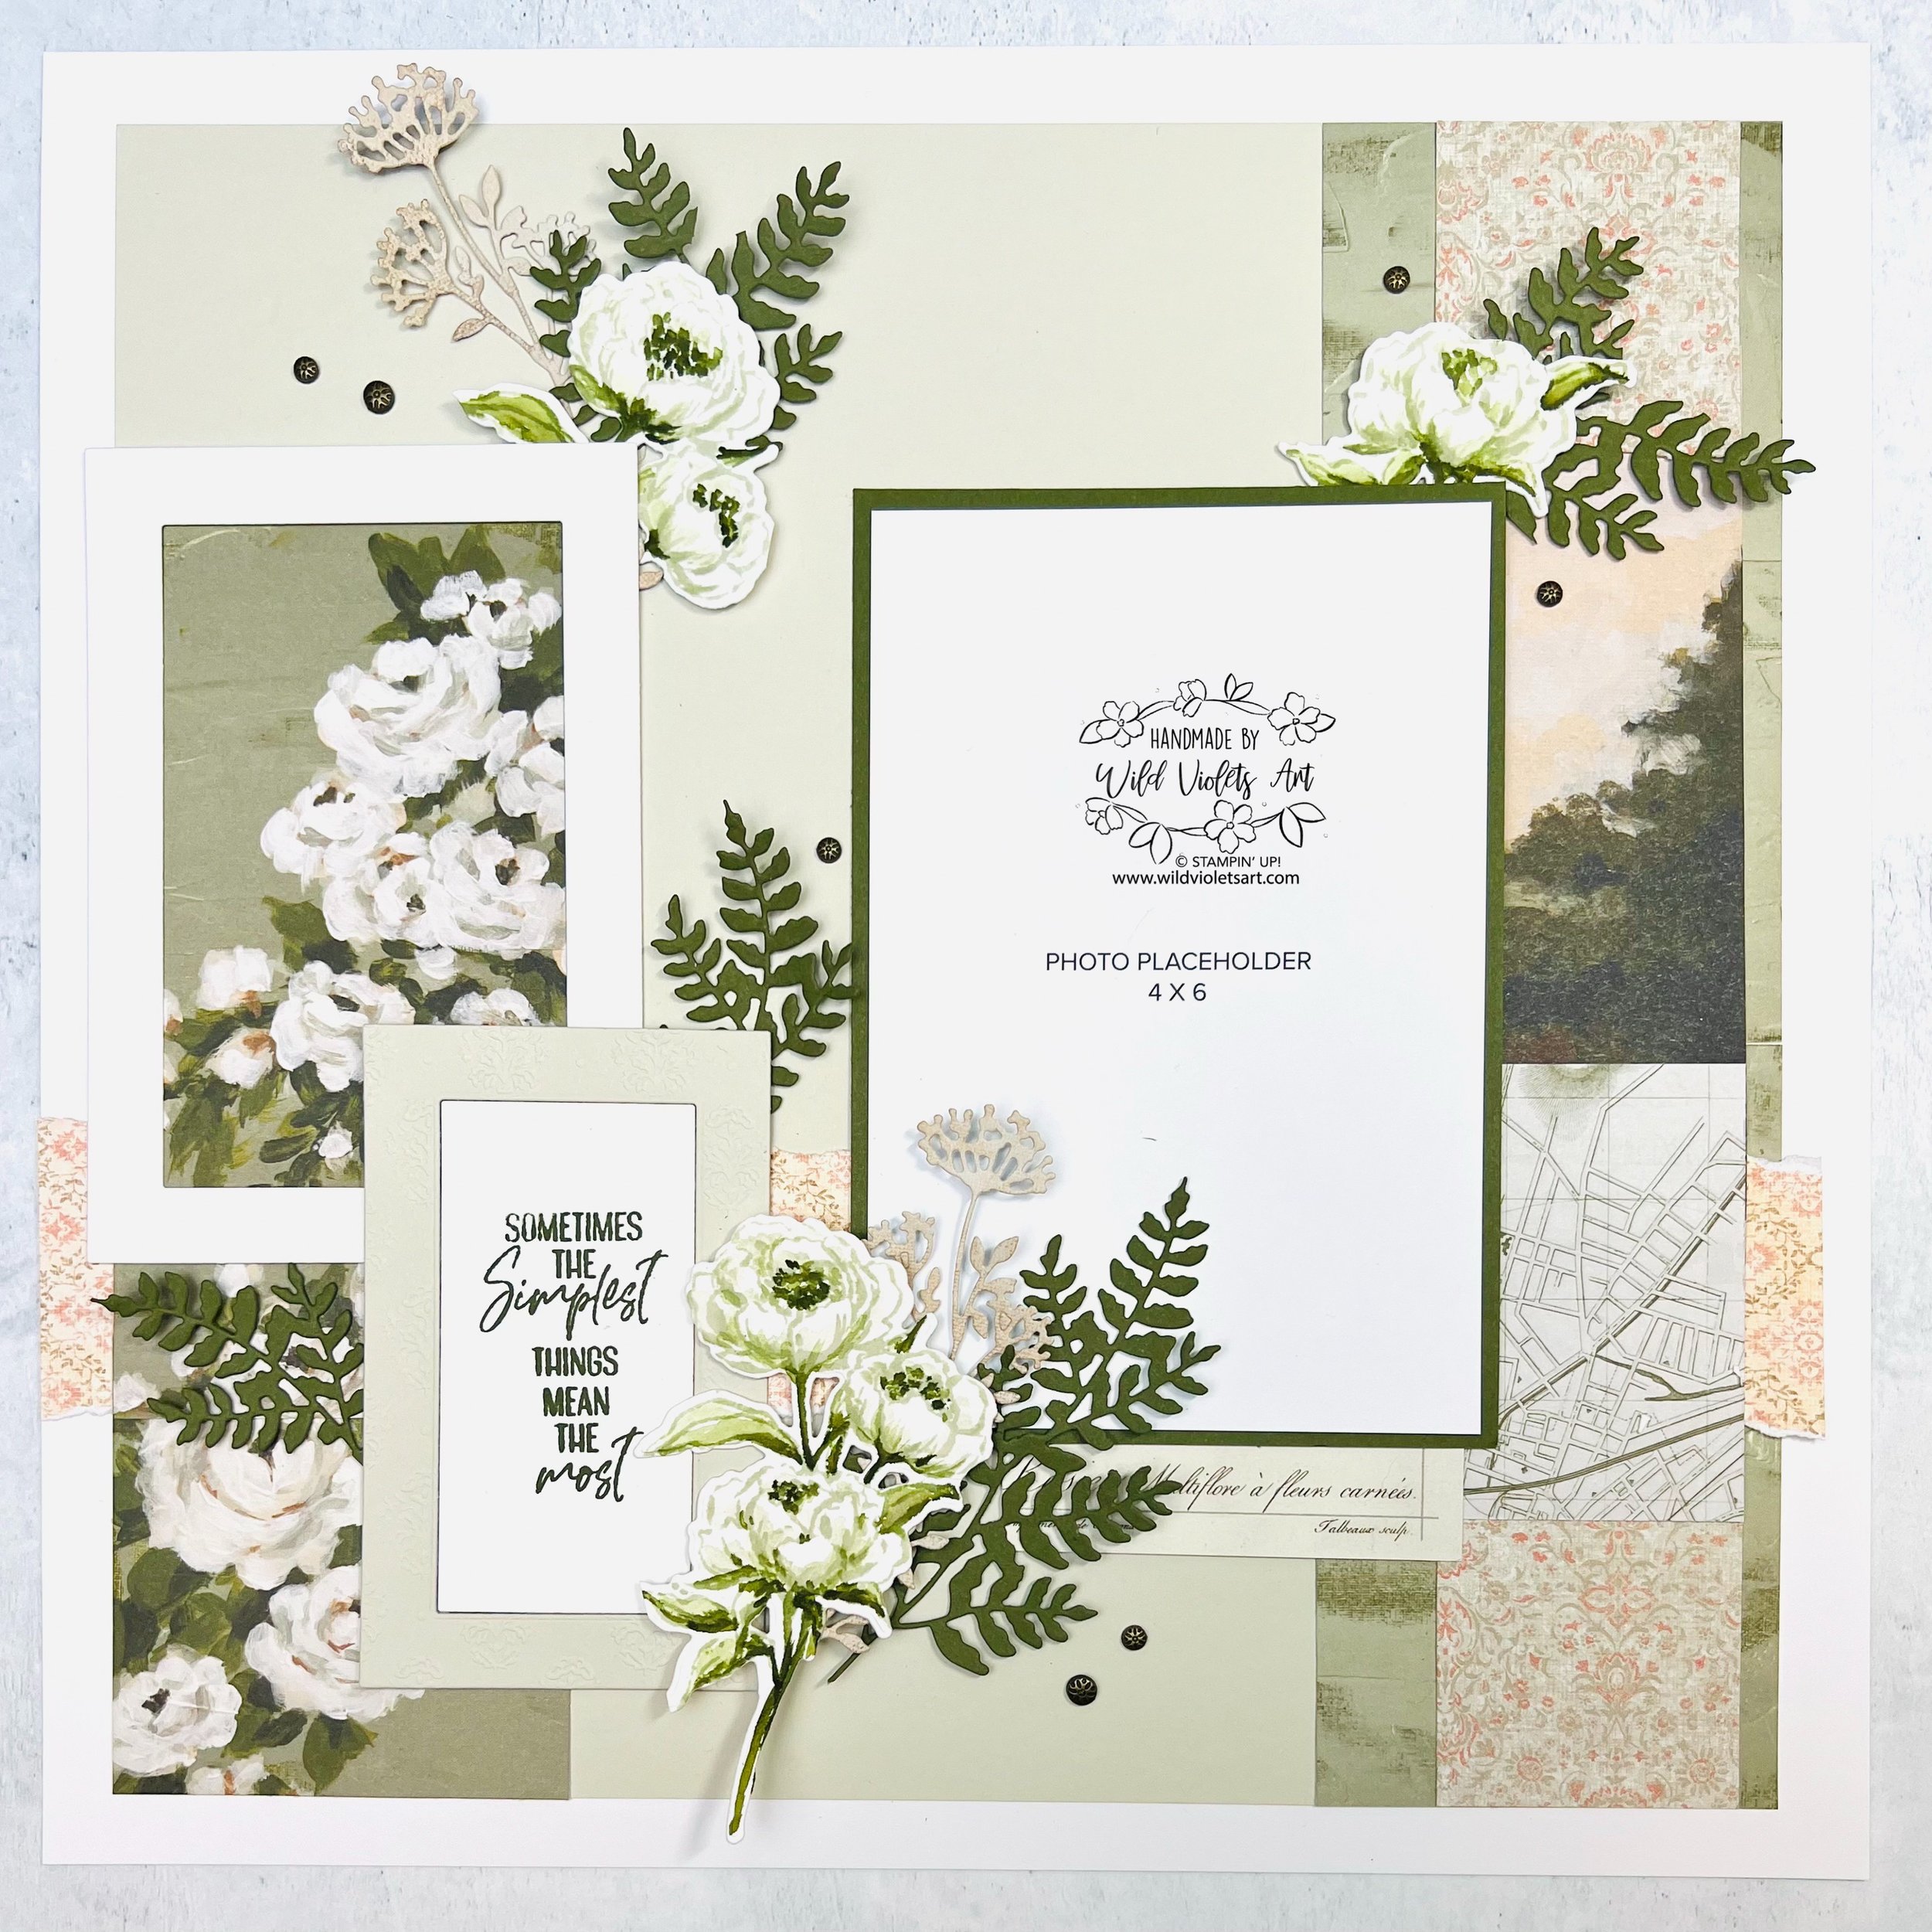
For my Friday Scrapbooking & Scripture Facebook Live on Wild Violets Art page, I shared a stunning 12x12 scrapbook layout created with the elegant Beautiful Gallery Suite Collection from Stampin’ Up!.
This layout is full of vintage charm and blooming beauty—perfect for preserving those precious memories. I’ll walk you through how to layer designer paper, easy watercoloring floral die cuts, and detailed foliage to build this romantic garden-inspired page.
This stunning suite is everything elegant and screams to be framed and treasured. My favorite from the Beautiful Gallery Suite Collection is the Beautiful Gallery 6”x6” DSP and the Beautiful Motif Bundle. But I have had so much fun using the Gallery Blooms Bundle for this layout as well. I have enjoyed using the Basic Beige Ribbon, and love the Pressed Flower Motifs embellishments.
For this lovely layout, I used the White Willow 12”x12” cardstock as the base for each page. I also used a piece of 8-1/2”x11” Basic Beige cardstock for each page as well.
To create the layout, I chose five or 6 coordinating sheets from the Beautiful Gallery 6”x6” DSP. Look for colors that blend well together. I also used Mossy Meadow cardstock for my photo frames and the ferns as well (one sheet of 8-1/2”x11” is enough for the photo sizes shown and 3 ferns needed for each page). For the flowers, I used the Fluid 100 Watercolor Paper. Each page uses one 5”x7” sheet for two bloom sprigs. For the title, I used a scrap of Willow White cardstock and Mossy Meadow ink for the word “bloom” from the Sweet Blooms bundle. My title “love every” comes from the Everyday You & Me stamp set, stamped in Mossy Meadow ink.
Place the Basic Beige cardstock 1/2” from 3 sides. Cut the pale green gesso sheet (opposite side is rose botanical DSP) into one 3”x6” and one 3”x5” piece. place both, so there is the 1/2” border from the layout edge as shown, lining up with the beige cardstock. Save the remaining piece (botanical script) to place on each layout as shown.
Using one and 1/3 of the patterned DSP sheets (it has pencil sketched house & fence scene on back side) and tear them into approximately 2” strips so they can be placed horizontally across the layout as shown. They overlap a little in the middle and do not go all the way to the outside edges of the layout.
Watch my YouTube video below for more how-to tips…
Next, using the roses with green background DSP and cut into one 3”x6” and one 3”x3” (saving the extra piece for the map design on the opposite side). Place on inside edge of beige cardstock as shown, lining up with the beige edges.
Cut coordinating patterned DSP sheet (it has rose vase painting) into 2” strips (you only need one 6”x6” sheet). Now cut a couple of 2”x4” strips of your favorite rural painting (I used two different ones). Place the 2” strips on the outside edge as shown (1/4” from outside edge of gesso DSP) with the pattern paper on top, rural scene next, 3”x3” map, then remaining pattern paper, lining up the top and bottom with the beige & gesso DSP and keeping them all 1/4” from edge of green gesso DSP.
Watch my YouTube video below for more how-to tips…
Using the photo sizes you want, or follow my layout and cut out two Mossy Meadow cardstock 4-1/4”x6-1/4” photo frames for the 4”x6” photos, 4-1/4”x4-1/4” for 4”x4” photo and 3-1/4”x3-1/4” for 3”x3” photo. Use the scraps to cut out 6 ferns from the Beautiful Motifs dies. I had extra DSP from my pieces and used it to die cut out a couple of floral sprigs from the Beautiful Motif dies.
I had some extra frames hanging around in White Willow and Basic Beige cardstock. I used a sentiment from You Are Remarkable stamp set for the Basic Beige frame, stamped in Mossy Meadow ink on White Willow cardstock.
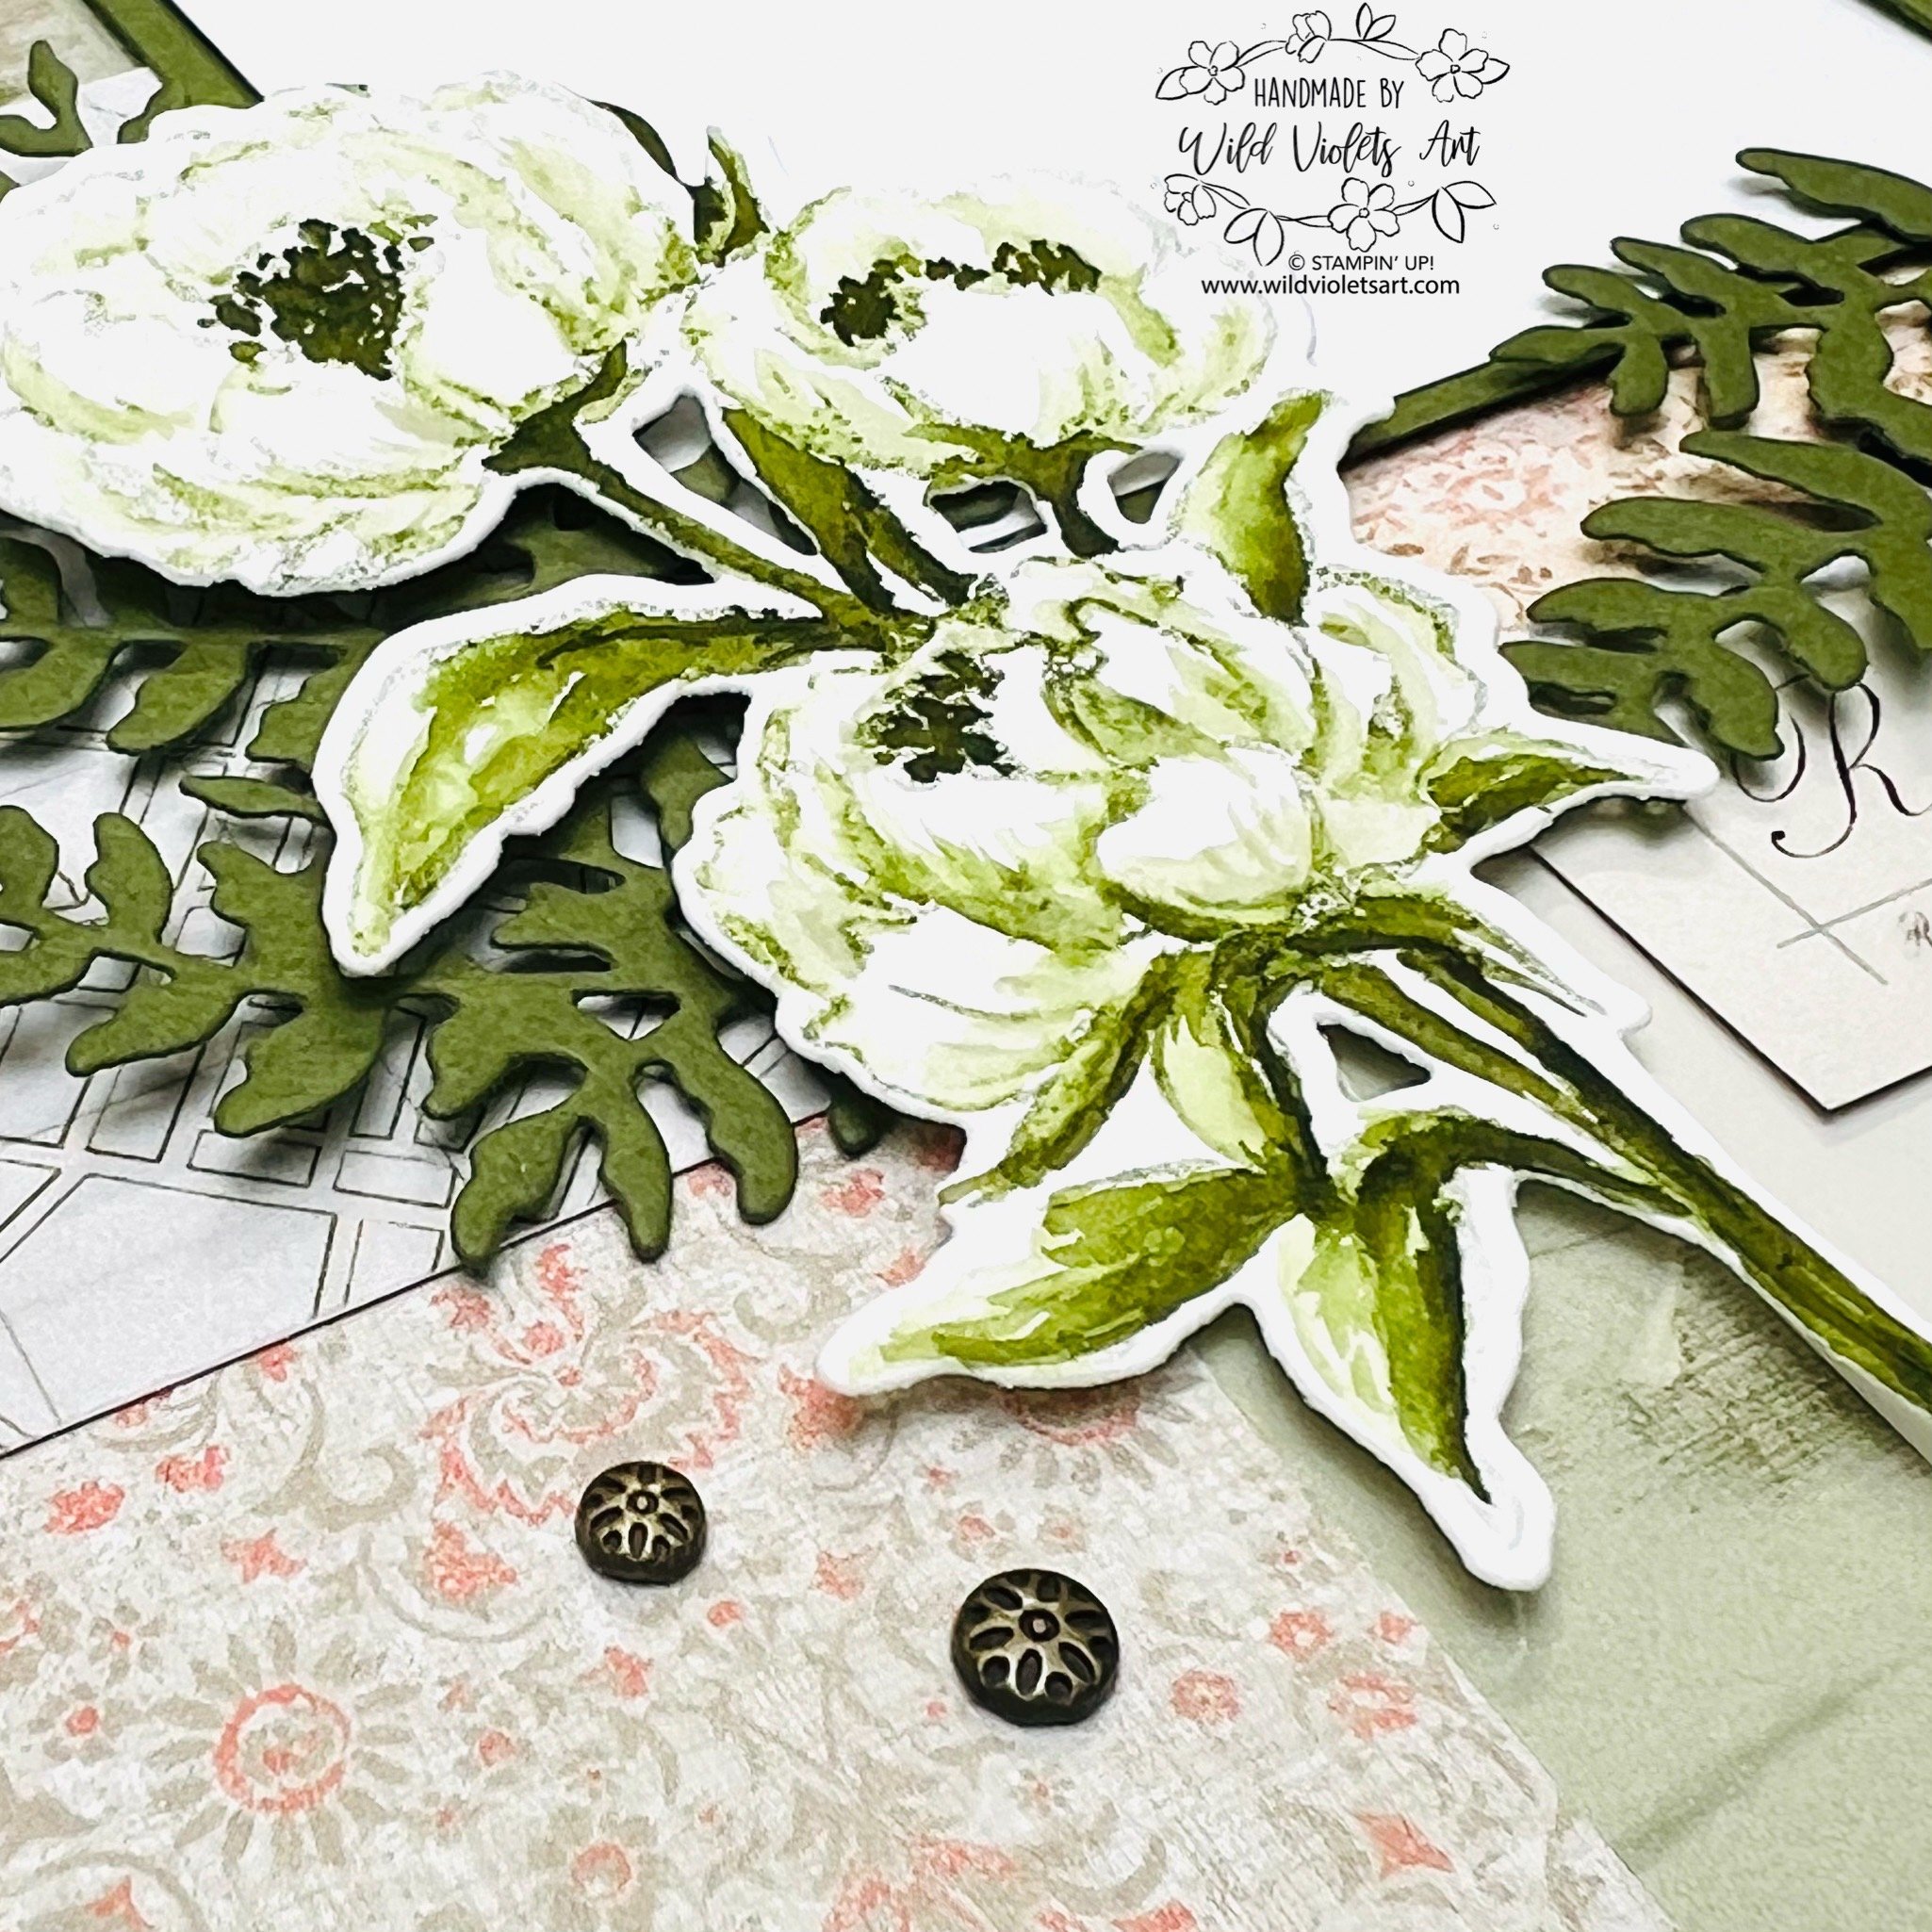
For the florals on this layout, I used Basic Beige Ink to stamp the flowers from Gallery Blooms bundle on the Fluid 100 Watercolor paper. You will need 4 separate floral sprigs. I then used the same ink and Mossy Meadow ink to create the florals. It would be helpful to watch my YouTube video for how I achieved the look of these flowers.
I then place one full die cut floral sprig on each layout, and cut apart a second one for each layout. My video will be helpful for this effort. I also placed one full fern under the full floral sprig, then cut the other two and spread it between the cut apart florals and on it’s own to cover up any areas where my DSP comes together awkwardly. My last touch was adding the Pressed Flower Motifs embellishments.
I love this layout so much, that I am sure I will continue to mix and match the DSP into more pages to document my favorite photos! Let me know if you are planning to create a layout using this amazing suite and be sure to share this tutorial with your friends that love scrapbooking! Thank you for visiting!


