Nests of Winter Suite Collection
Nests of Winter Suite Collection
The lovely Nests of Winter Suite Collection was the theme of my Marvelous Monday Facebook Live this week. The papers are so sweet with all the winter birds and foliage. I was able to purchase this suite back in May for the Demonstrator only Creativity Now virtual event on June 22. With the passing of my stepdaughter in early July, I had set everything I made aside until Monday I have added the lovely items to the gallery of photos at the bottom of this page.
more pictures and video below…
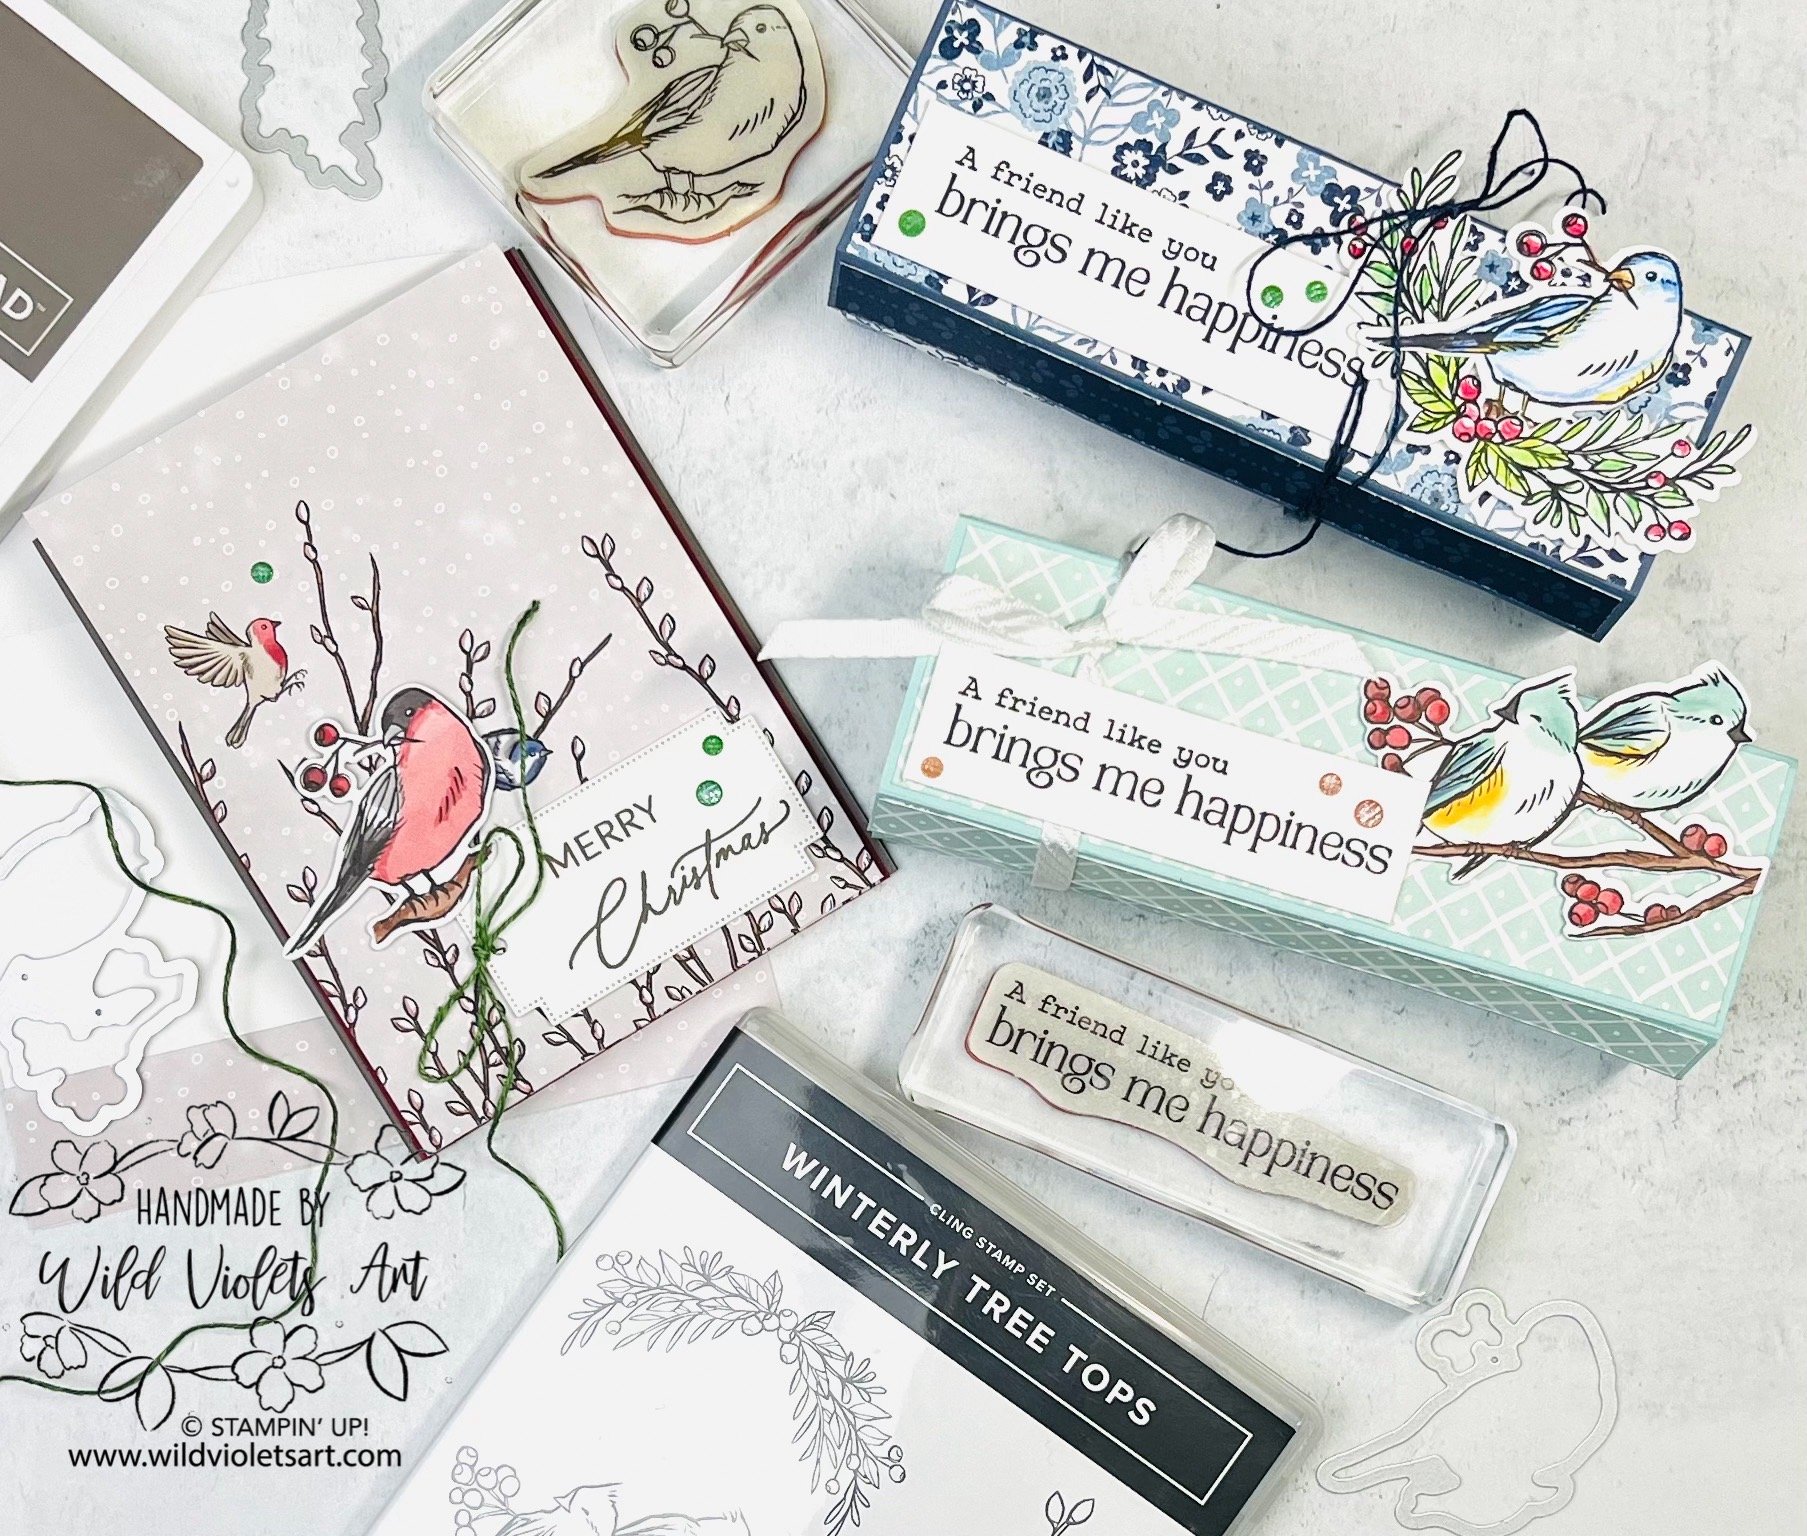
The Nests of Winter Suite Collection includes: WINTERLY TREE TOPS CLING STAMP SET (10% off), WINTERLY TREE TOPS DIES (10% off), BIRCH WOOD 3D EMBOSSING FOLDER, NESTS OF WINTER 12" X 12" DESIGNER SERIES PAPER, NATURAL TONES LINEN THREAD, and EARTH TONES SHIMMER GEMS. Items out of stock will be back by 10/14/24 or 10/21/24.


Merry Christmas
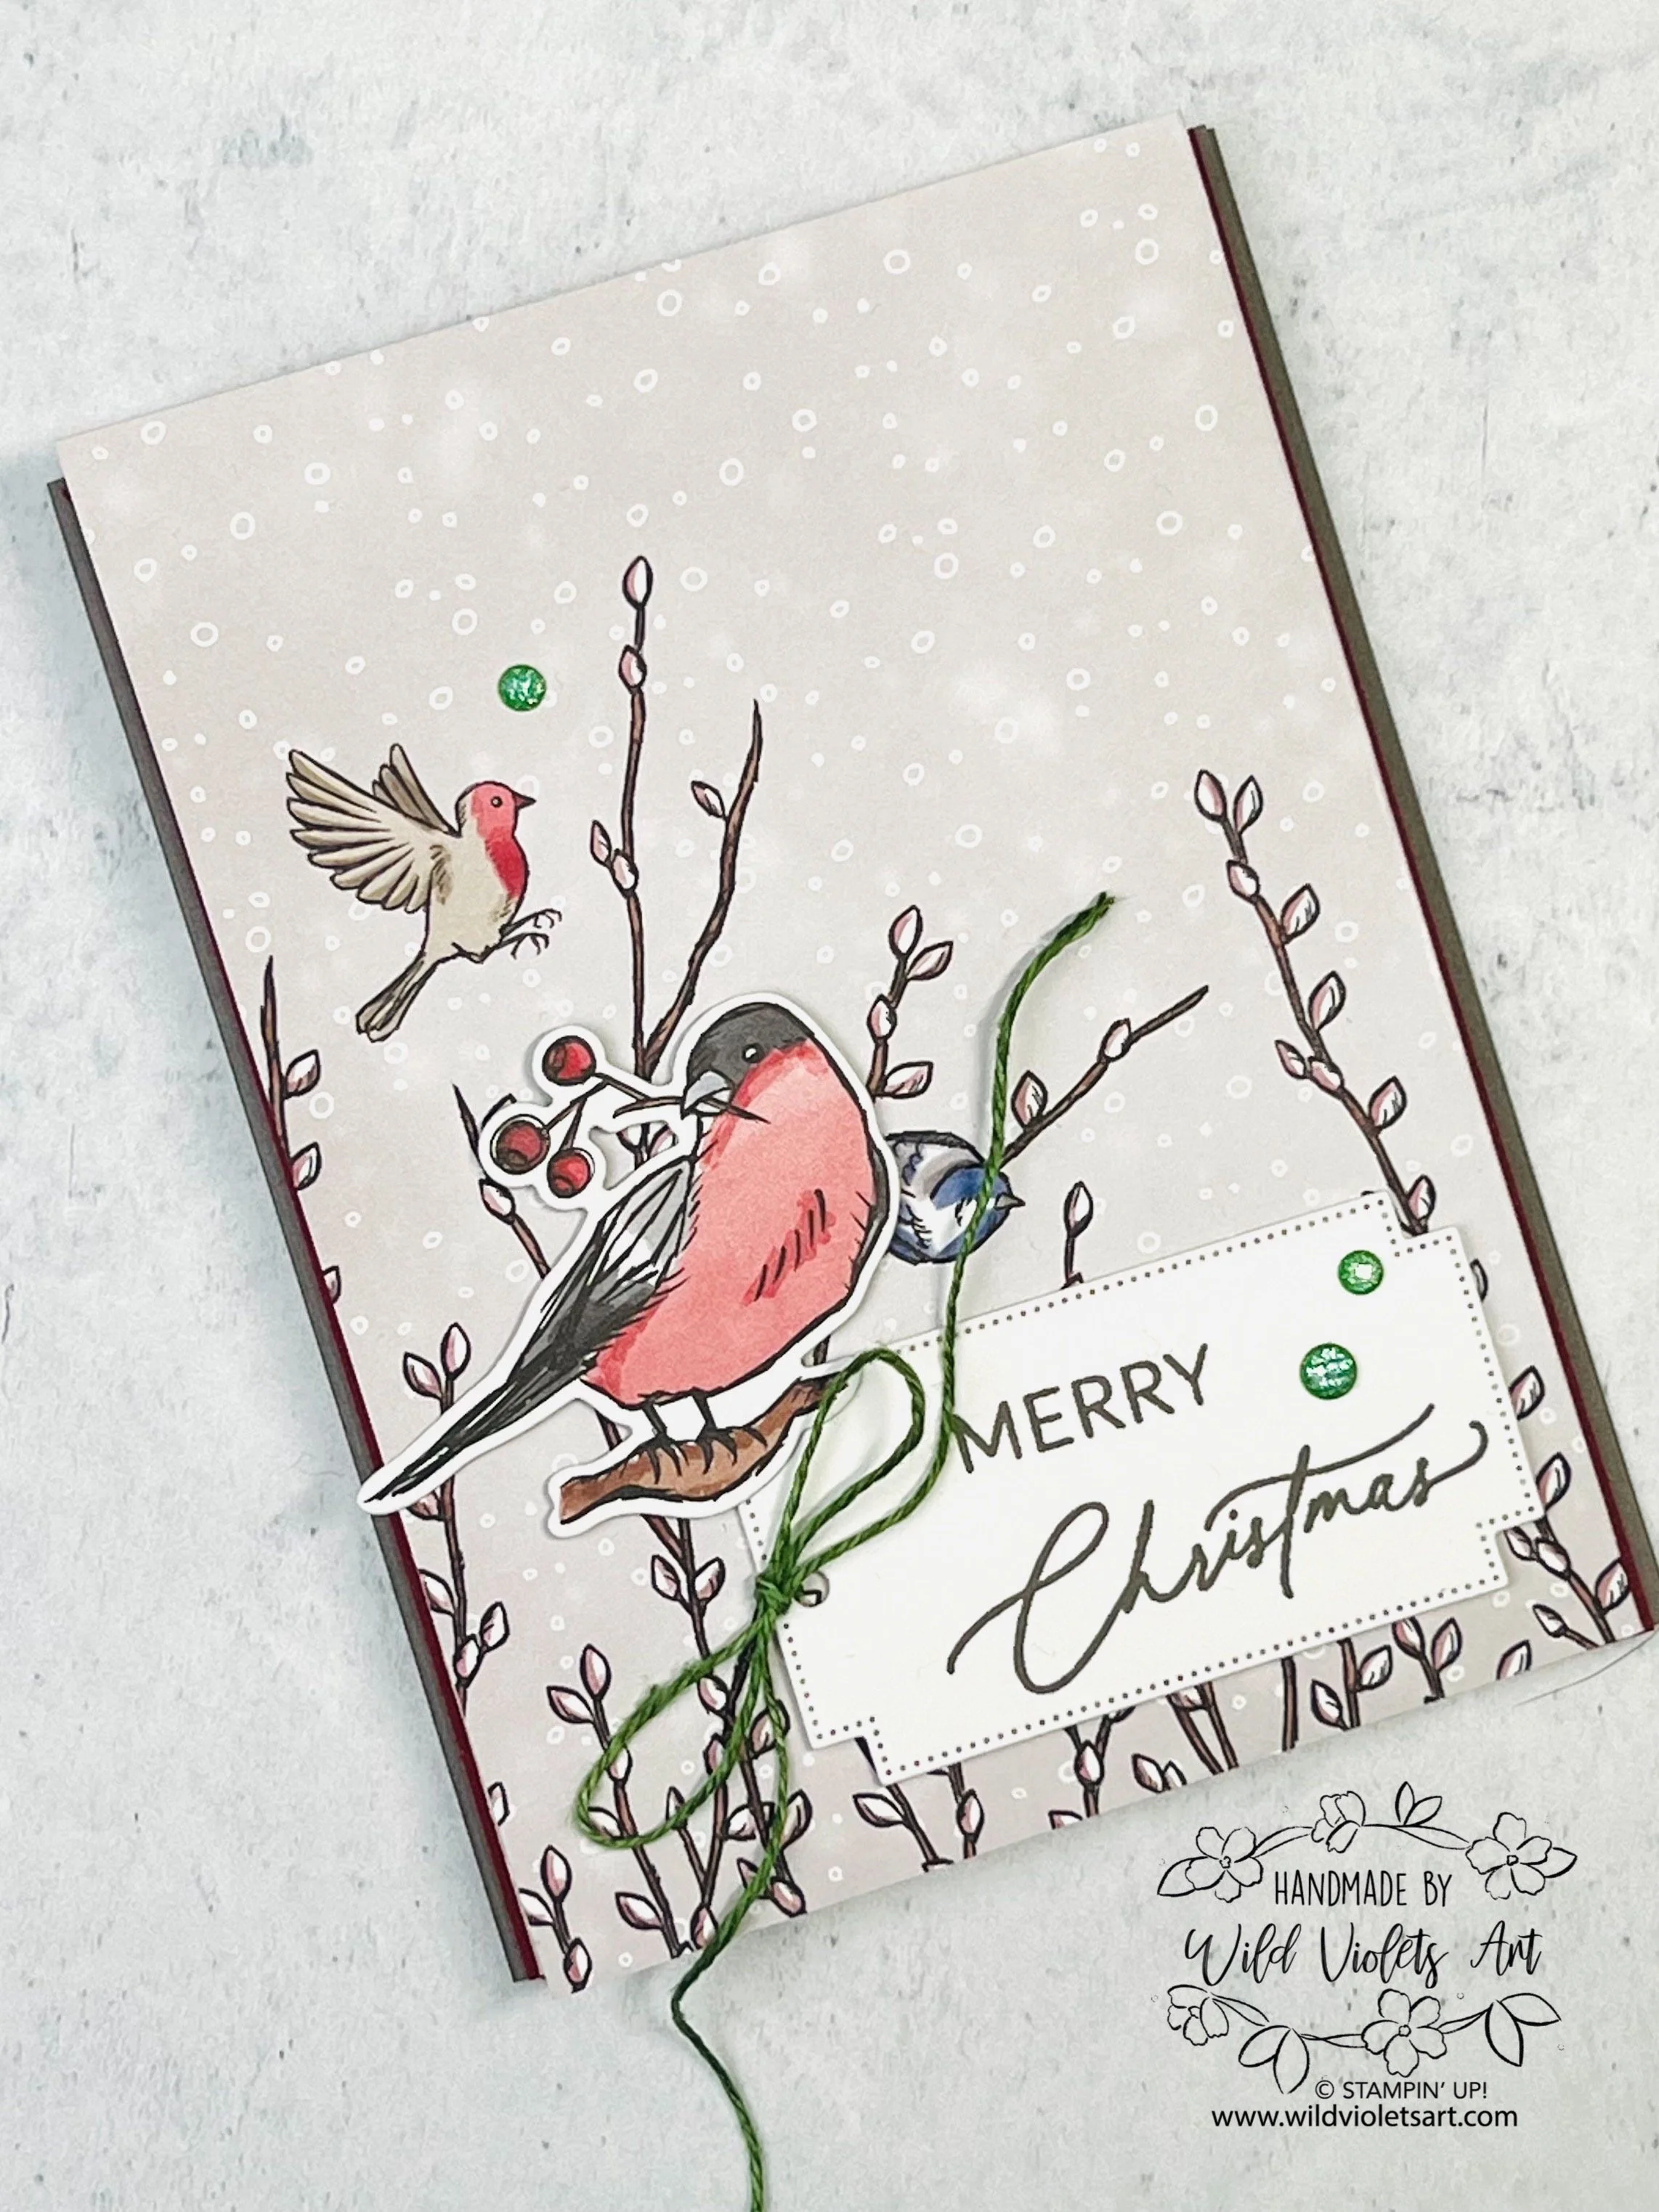
I love how this card looks so unassuming and yet has such hidden loveliness. I used an A2 card base of Pebbled Path Cardstock (5-1/2”x8-1/2”, scored at 4-1/4”. I then glued a 5-1/2”x4-1/8” layer of Cherry Cobbler Cardstock. I die cut out one of the pretty birds from the DSP. I stamped the Merry Christmas sentiment from the Greetings of the Season stamp set in Pebbled Path ink on Basic White Cardstock, and die cut it out the label with the Greetings of the Season dies.

The wonderful Nests of Winter DSP has a lovely story to tell and so by using a 5-1/2”x12” piece, all the different birds, willow buds and snow show a peaceful winter scene. I scored the DSP at 4” and 8”, then folded it into an accordion fold and glued the DSP to the card base. I then popped up the label and bird on the card front with Stampin’ Dimensionals.
More photos and how-to video below…

I glued a 4”x5-1/4” layer of Basic White CS to the inside of the card and added another sentiment from the Greetings of the Season stamp set in Pebbled Path ink. I then added the green Natural Tones Linen Thread to the label and the green Earth Tones Shimmer Gems as embellishment.
More photos and how-to video below…

A friend like you…
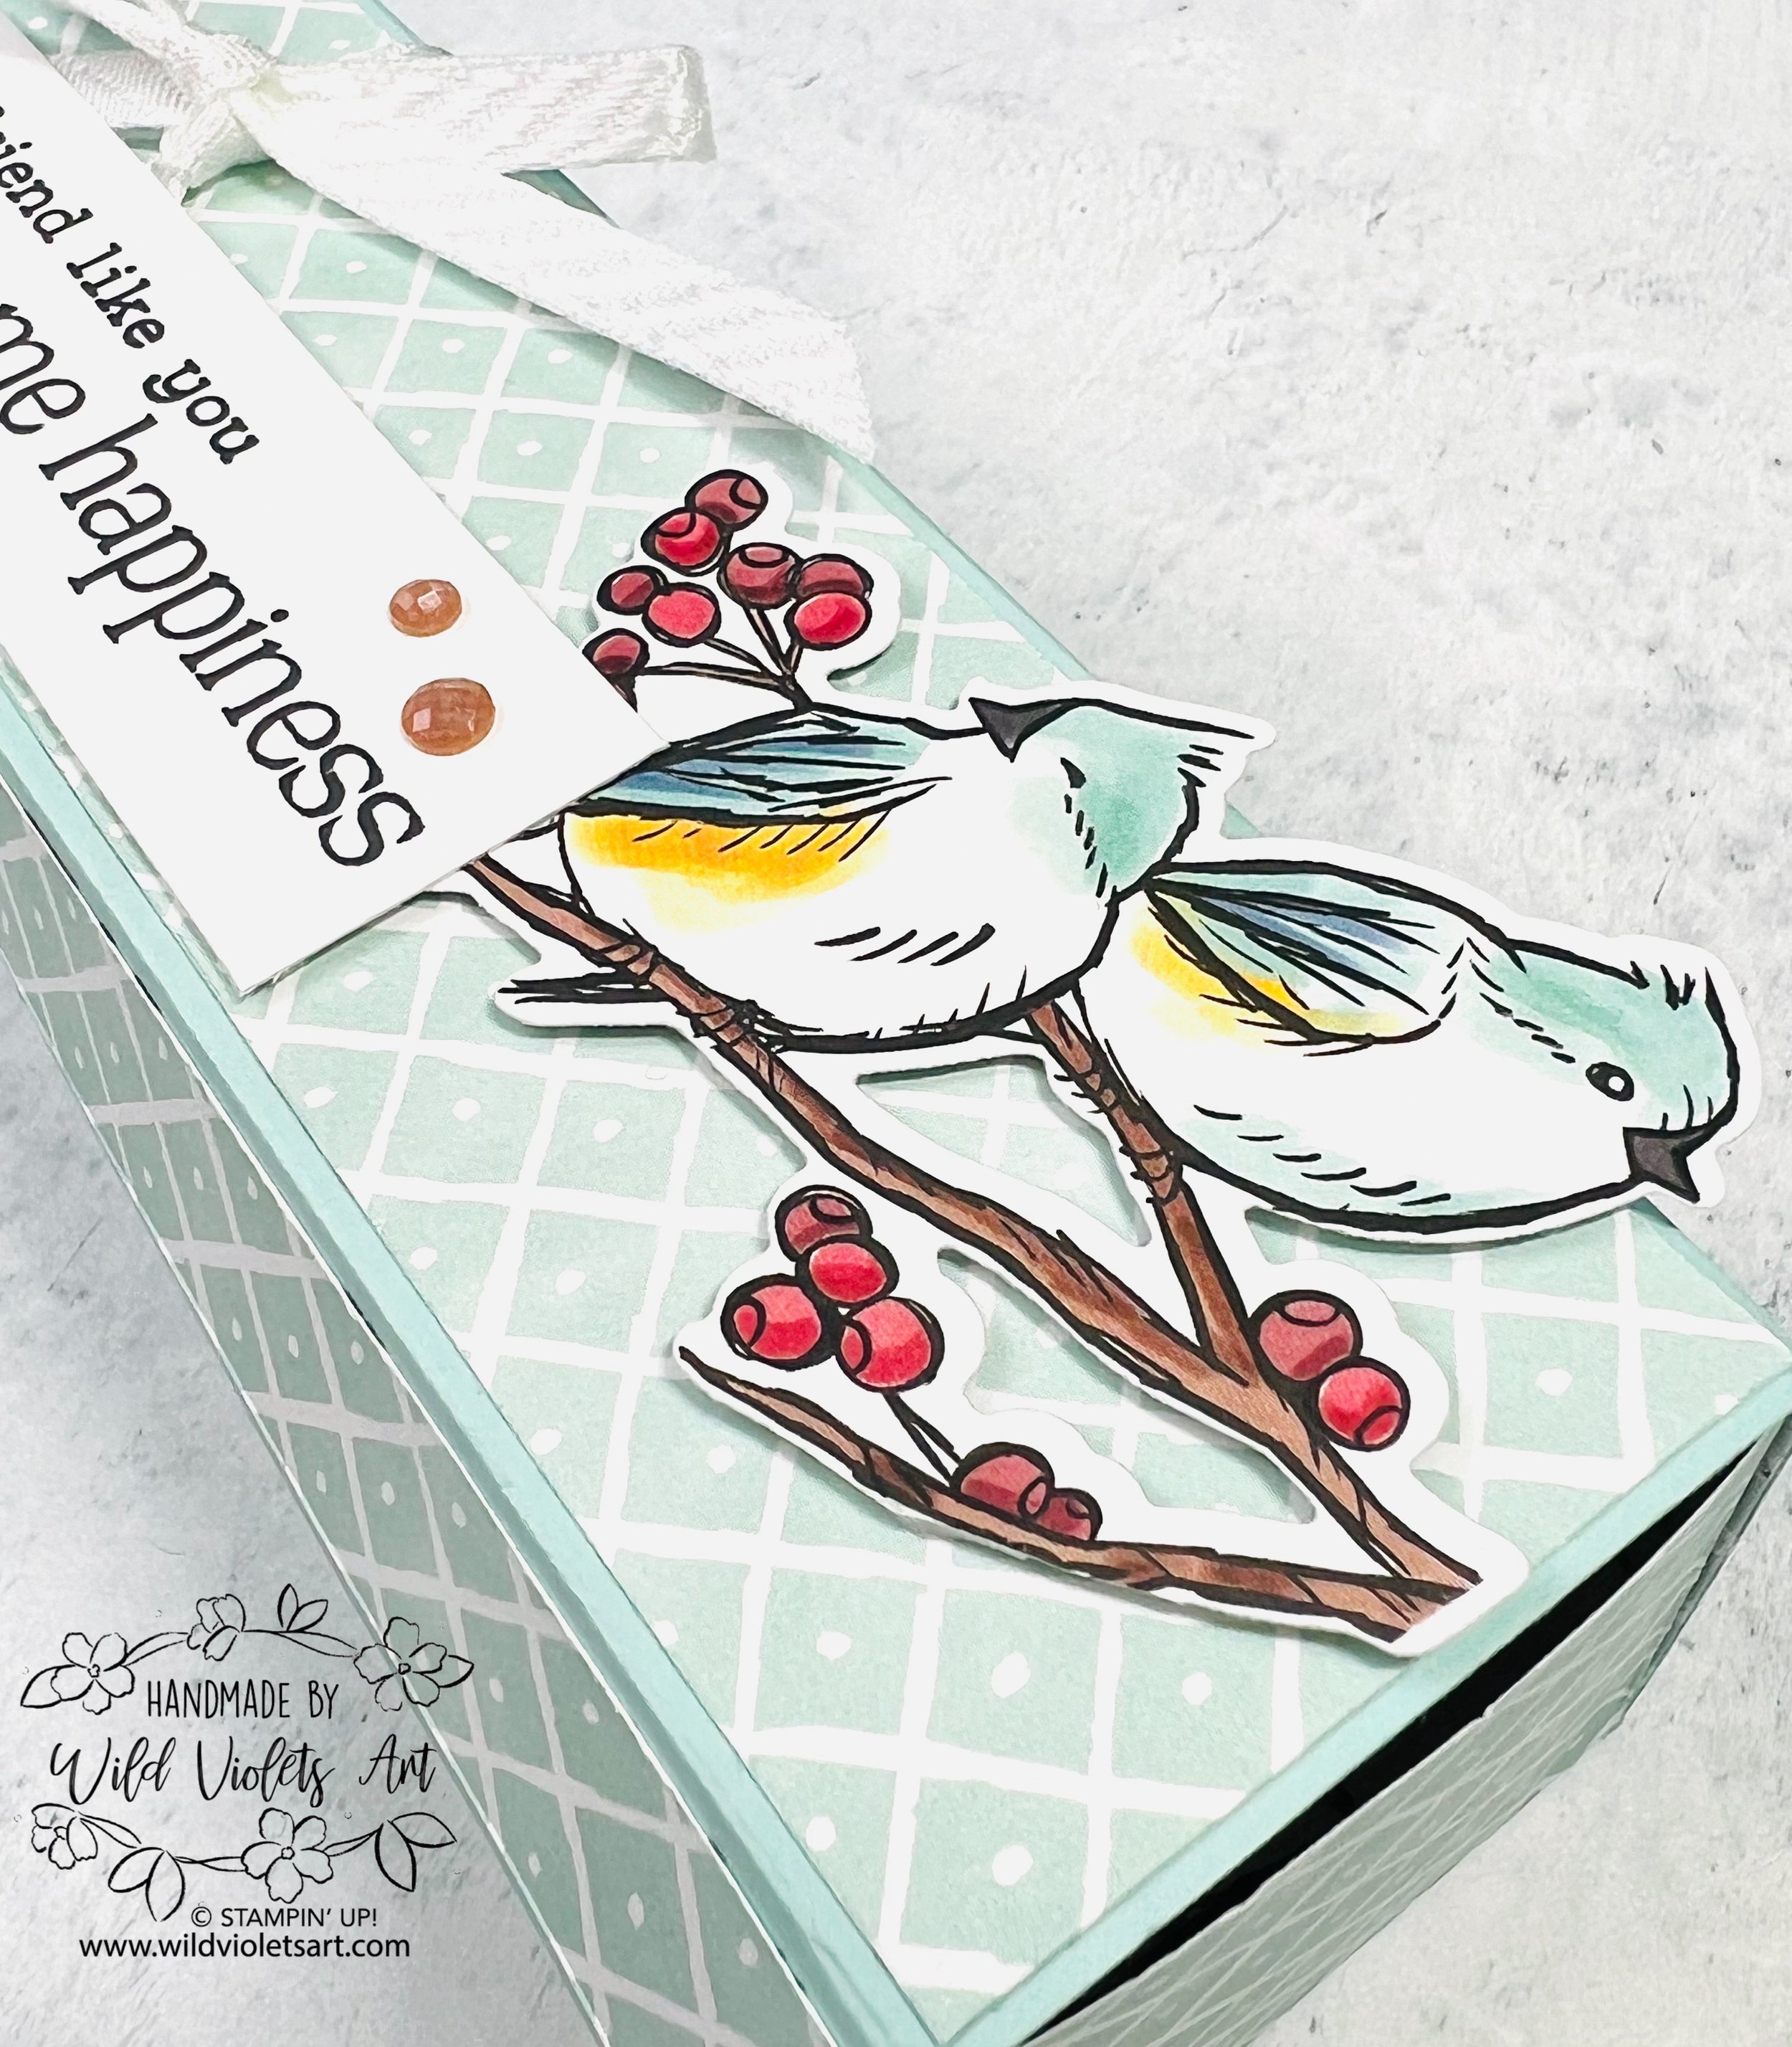
I had so much fun showing how to make this sweet yet simple flat fold box. While it looks hard, it actually comes together really easy. The box is 6”x2”x2” and I closed it with two small Velcro dots. I was able to CASE (Copy And Slightly Edit) this from Mandy Witherby from Sydney Australia, and to convert all the measurements from cm to inches. You can see in the additional photos and video below how flat the box becomes, great for storage or sending in the mail.

You will need the following to make this sweet box:
Box Base - Pool Party CS 8-3/4”x6”, scored at 2” & 4”
Box DSP interior - 10”x5-7/8”, scored at 2” & 8” on long side, & scored at 2” & 4” on short side.
Box outside - 3 each 1-7/8”x5-5/8”
Front flap - 5/8”x5-7/8”
Label - 1”x3-1/2” Basic White CS
Bird from DSP or stamped & colored
White 1/4” Diagonal Trim Ribbon - 18”
Earth Tones Shimmer Gems
Velcro dots or magnets
Watch the how-to video below for instructions…
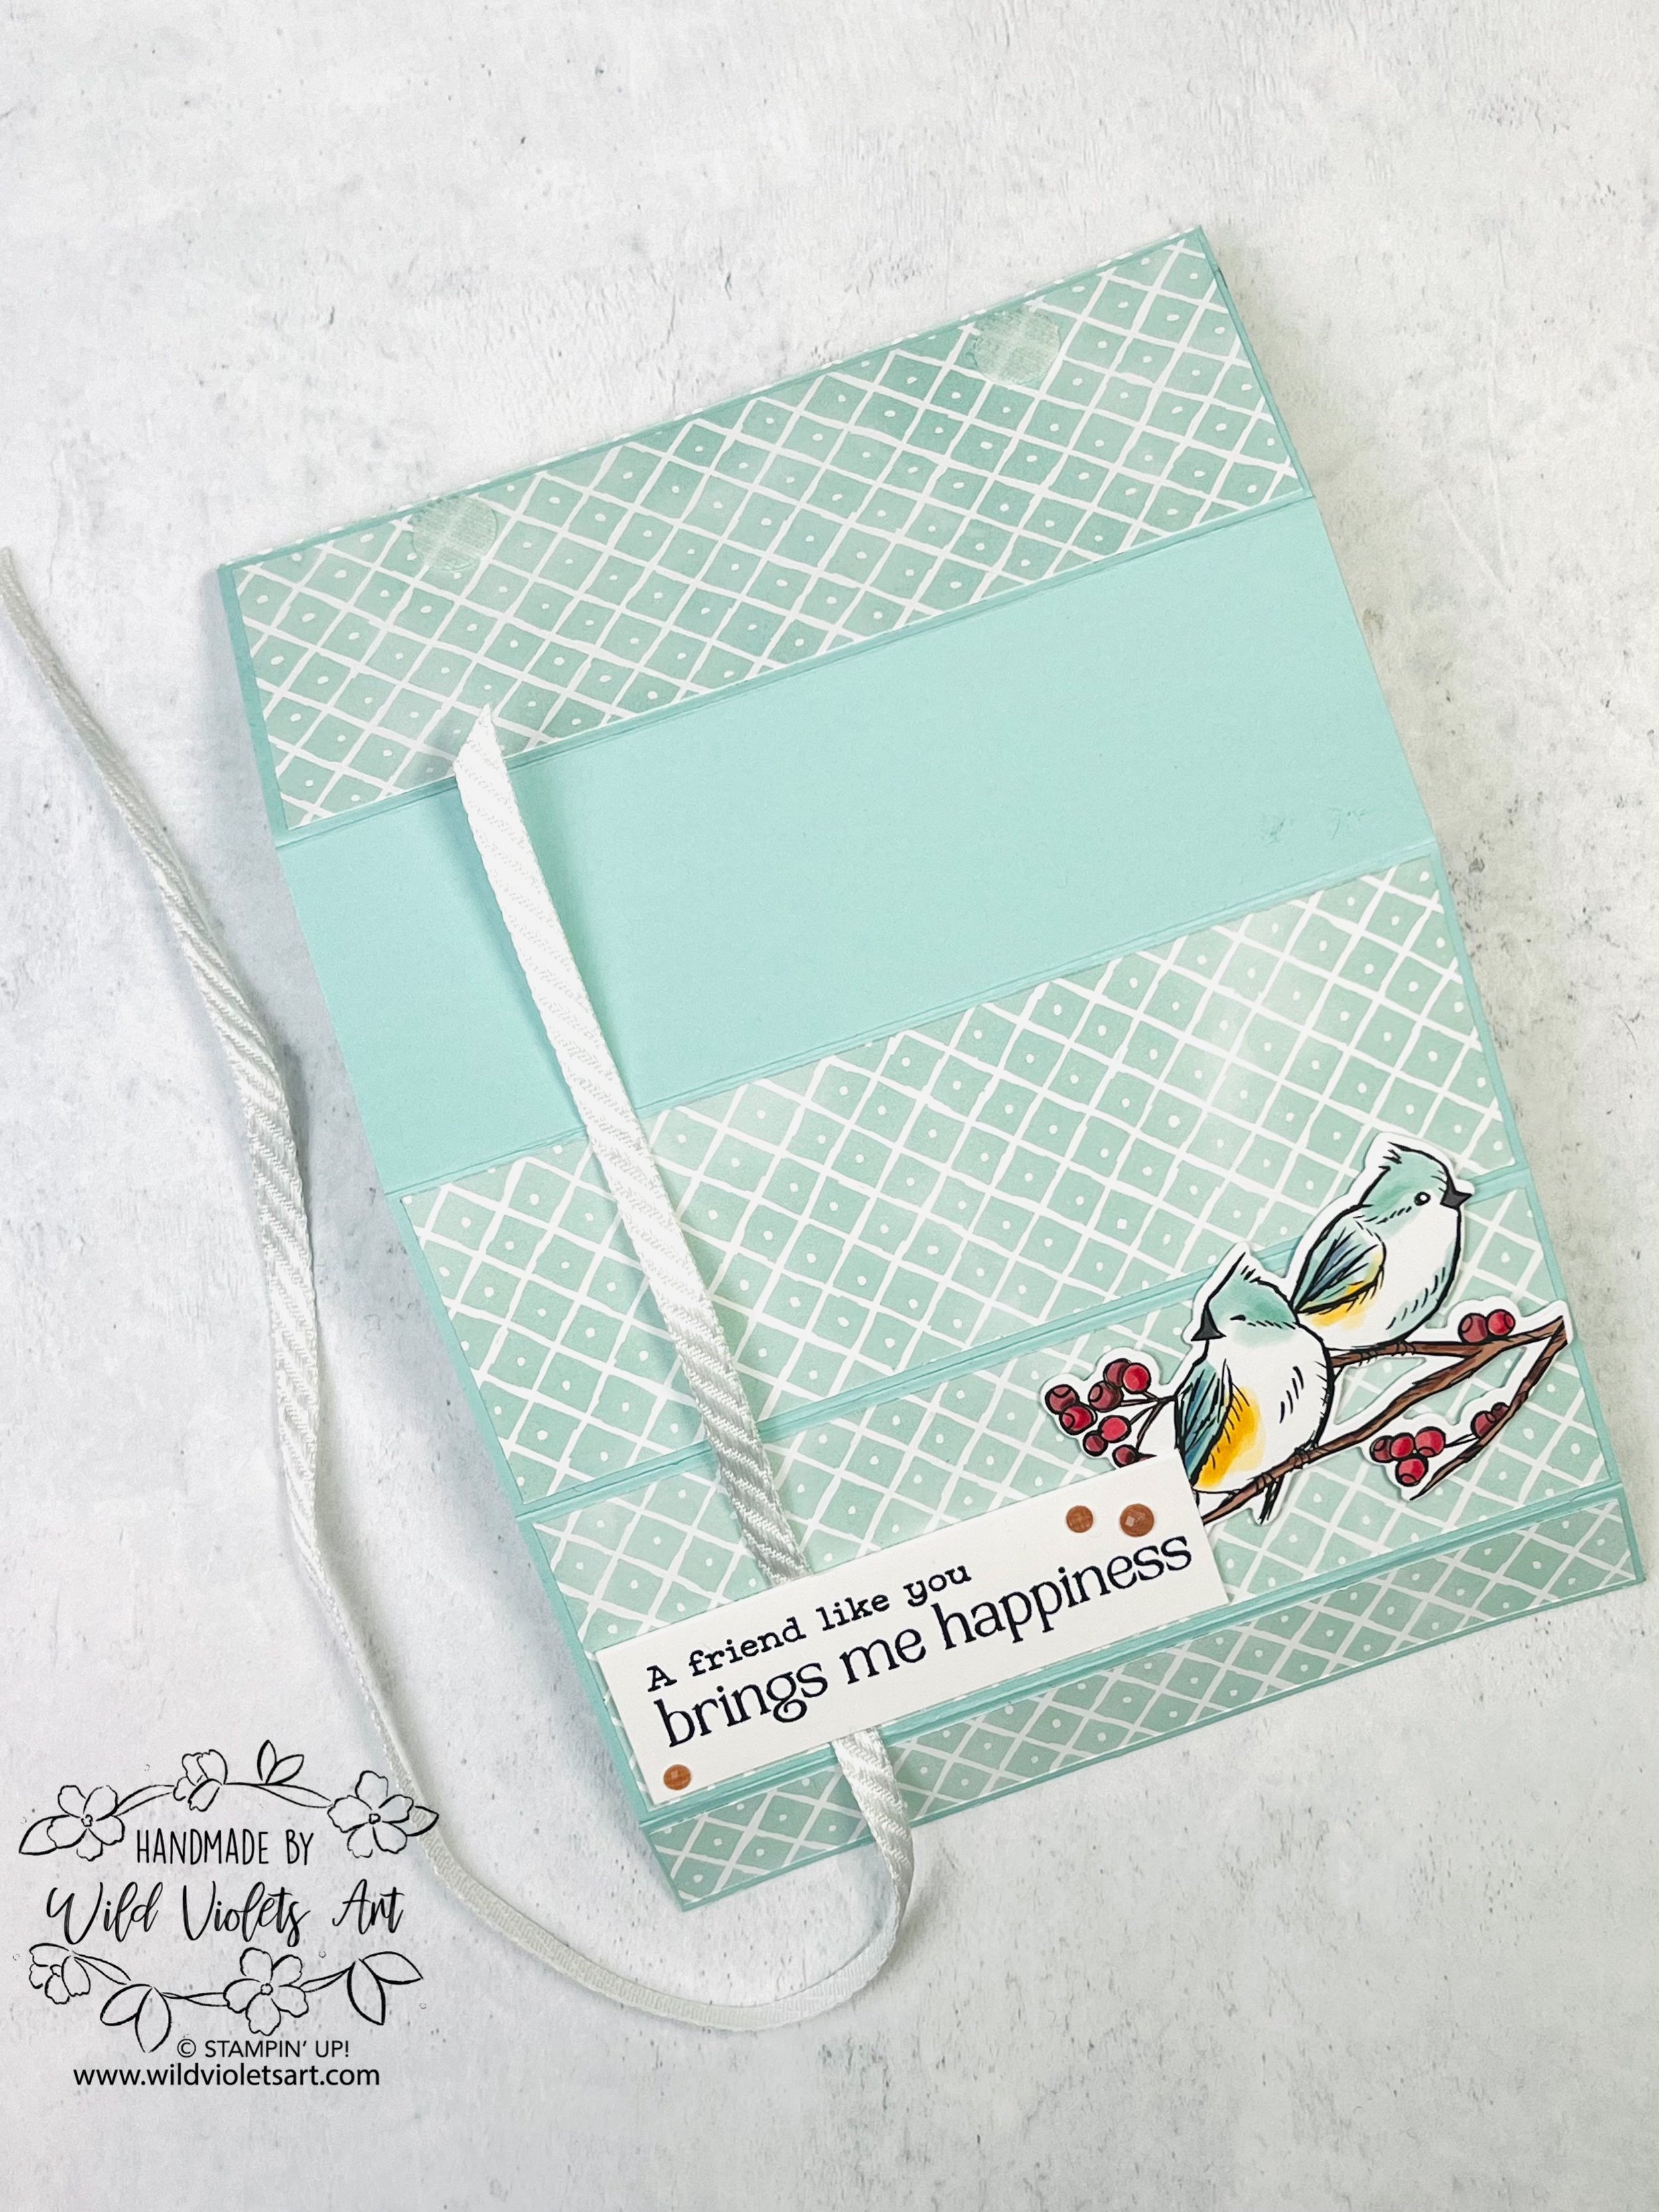
Fold the cardstock & DSP at each score line and braise with your bone folder. You will want to watch the video below to see where the diagonal folds need to be placed on the DSP and how to glue and place on the inside of the box.
On the outside of the box, glue the DSP on each area shown on the image (top, front, back & front flap). Stamp the sentiment in Basic Black Ink on the Basic White CS and pop it up on the lower left side of the box with Stampin’ Dimensionals. Die cut out a pair of birds from the DSP to match, fussy cut or stamp and color one. Place the velcro dots as shown on the video. Place Thread the ribbon under the sentiment and tie a bow. Add embellishments as desired.
See below how-to video and more photos…

More photos of cards using the Nests of Winter Suite Collection.